
From the job to your next story, step by step
Follow the complete 13-step route from company setup and worker capture through office review, editing, branding and final export.
Capture in the field. Review in the office. Export for your own publishing workflow.
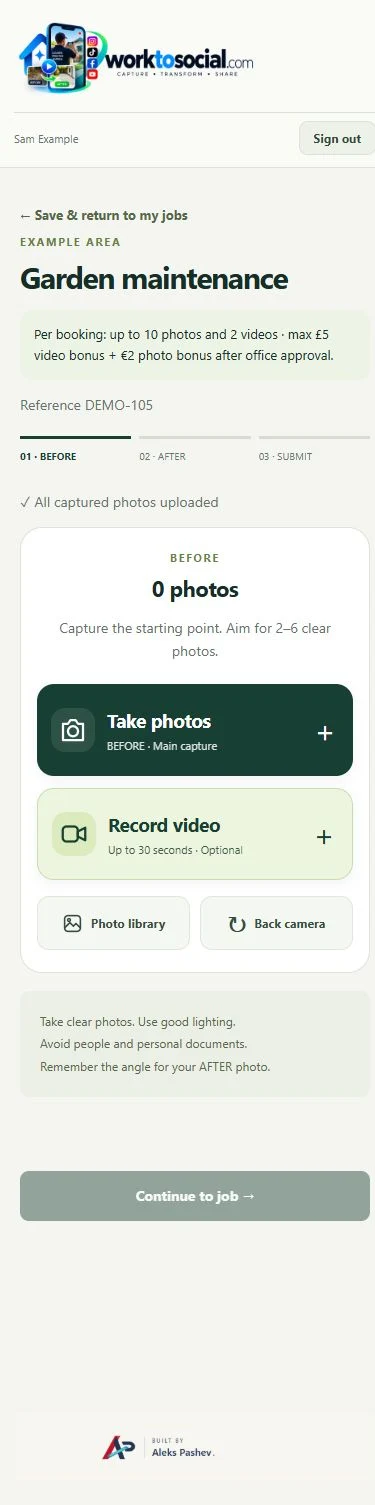
A connected handover
- 01Worker
- 02Capture
- 03Office
- 04Edit
- 05Brand
- 06Approve
- 07Export
Company adds workers
Company administrators create authorised team accounts and configure company services. Agree the worker’s capture routine before the first visit.
Explore this part of the workflow →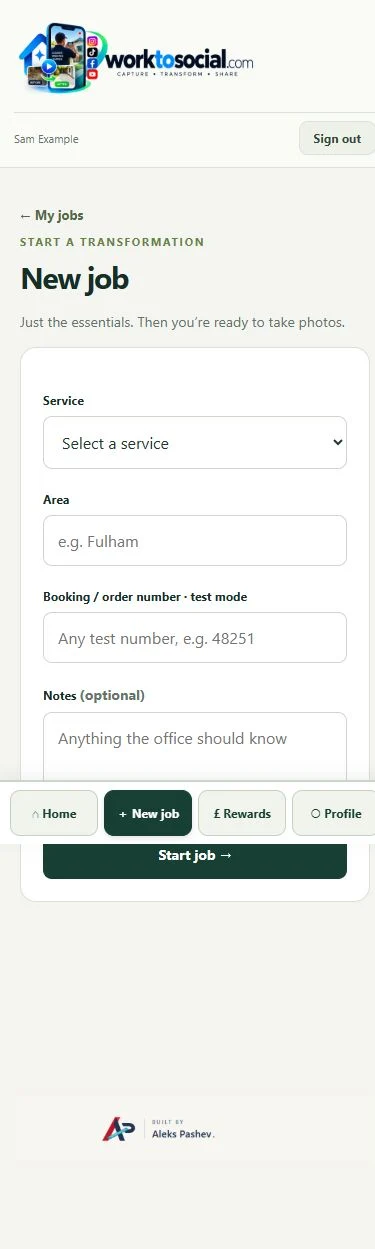
Worker opens the workspace
Use the company’s private workspace and supplied access details. A phone can open the mobile web app; installation guidance is provided in the application.
Explore this part of the workflow →Capture real job material
Take clear source photographs or a short, steady clip. Avoid private details in the scene and choose a useful subject rather than filming everything.
Explore this part of the workflow →Submit before and after
Keep each phase connected to the job and add context. Keep the app open while uploads are waiting; confirm that the material reaches the office.
Explore this part of the workflow →Office receives the job
The library shows submitted work with worker attribution and job context. Filter the collection and open the relevant record.
Explore this part of the workflow →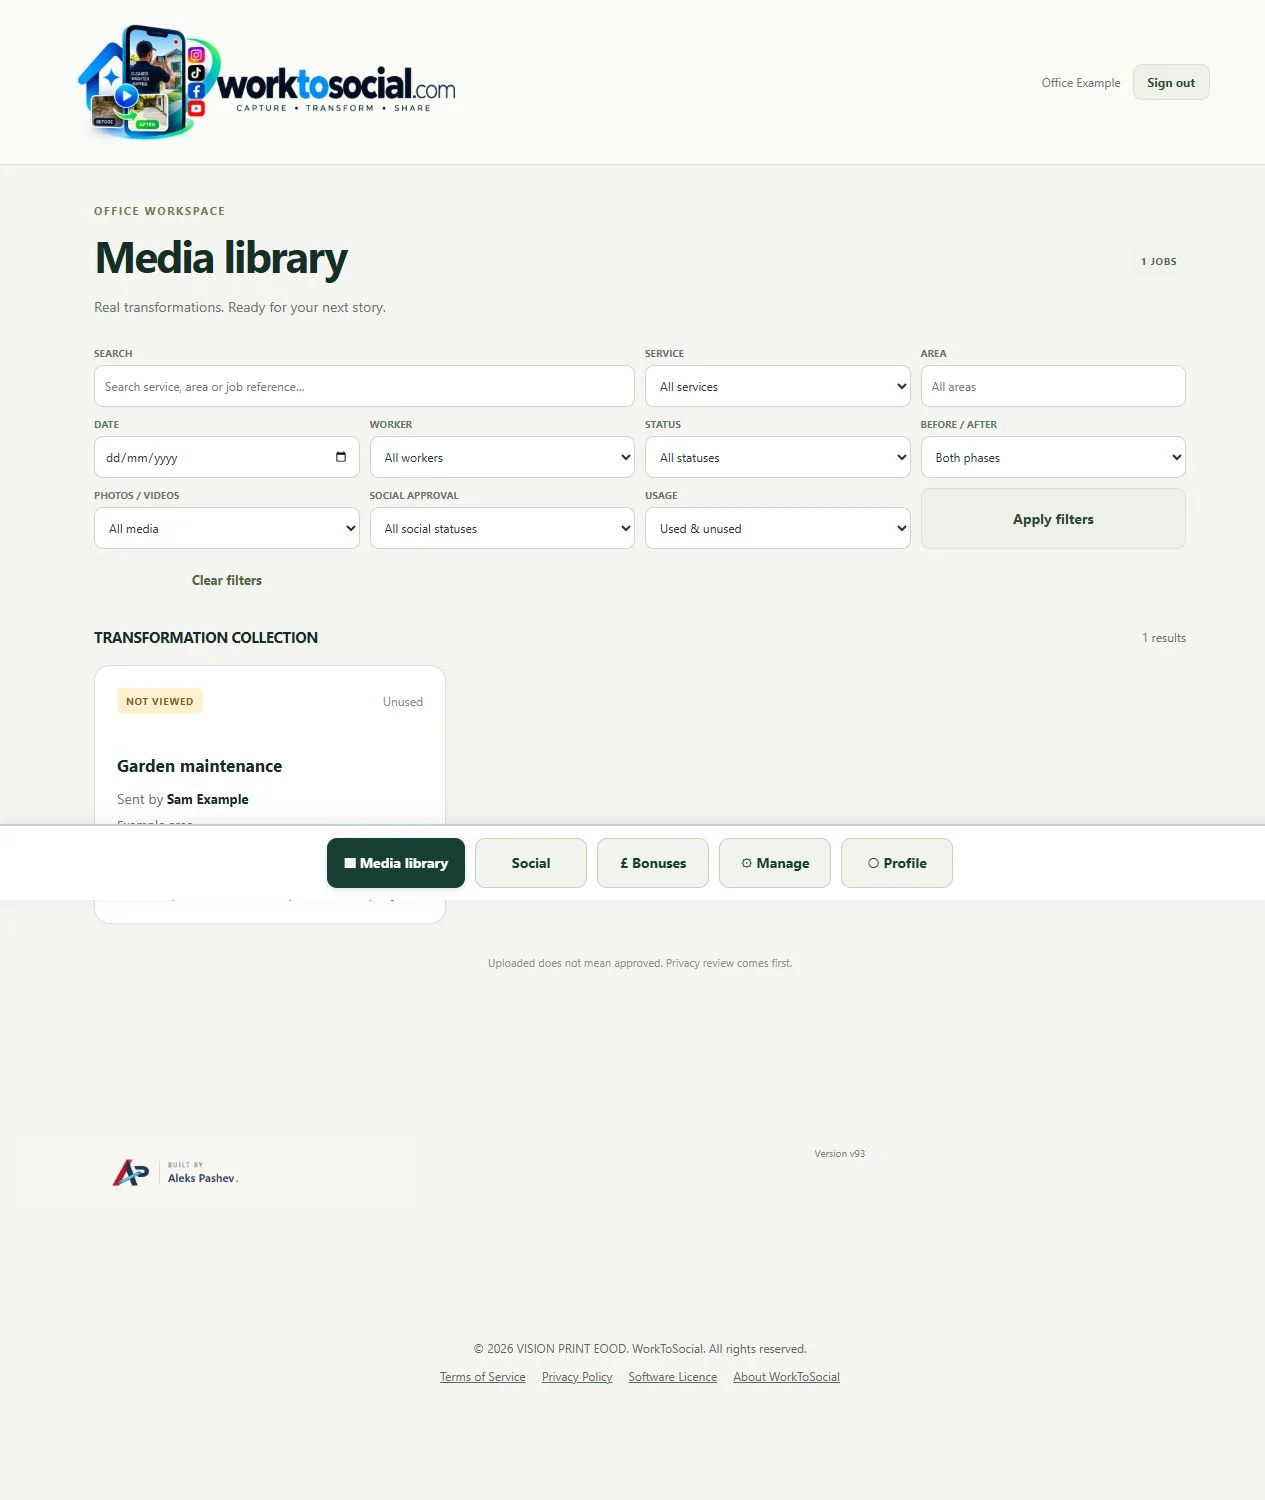
Review the source
Read the reference and notes, inspect every photo and the entire video, and decide whether the material is suitable for the intended public use.
Explore this part of the workflow →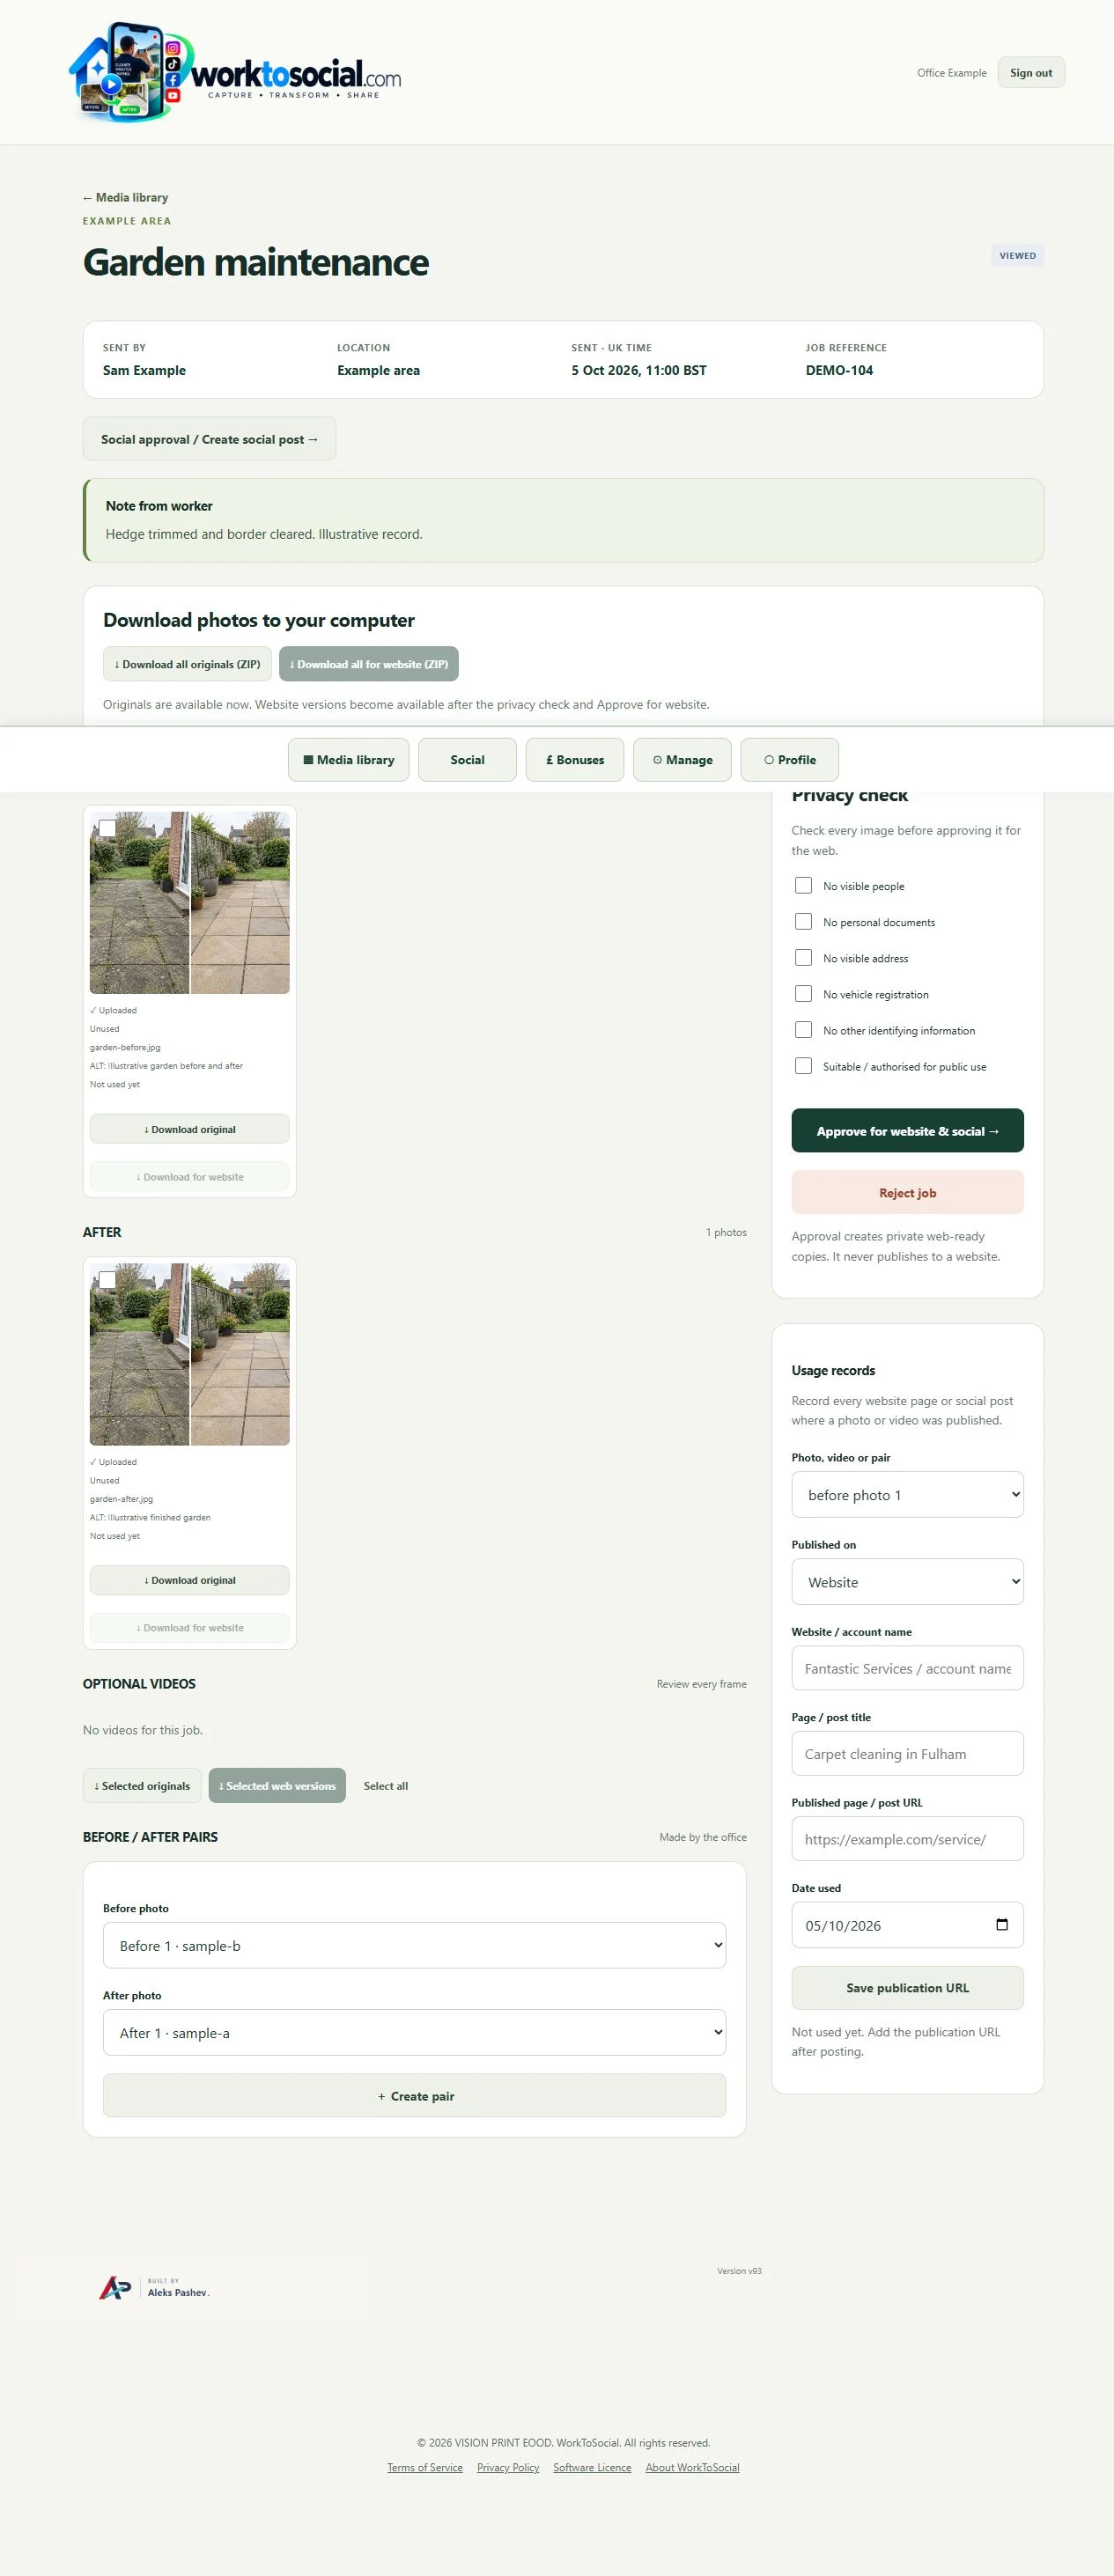
Edit selected media
Choose a purposeful crop, adjust light and colour, or trim a short clip. Use manual privacy areas and layers where needed. Source originals remain unchanged by photo editing.
Explore this part of the workflow →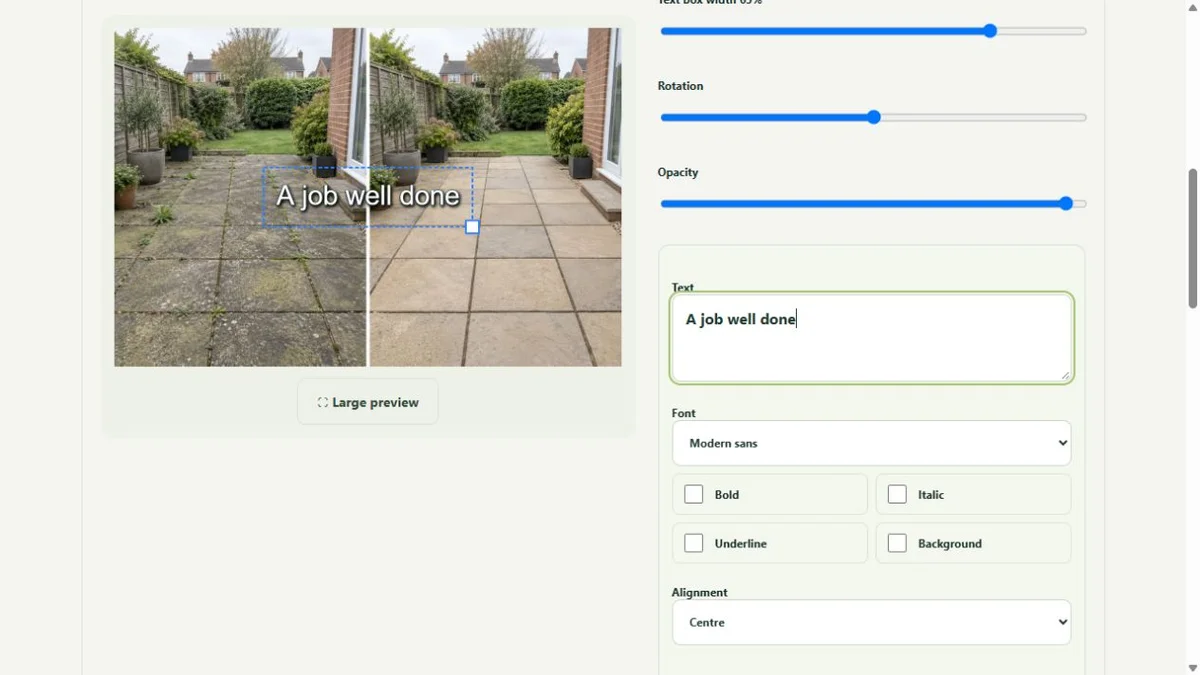
Prepare subtitles
Generate from speech or write manually. Choose English, Bulgarian or automatic detection in the current editor, and check text and timing.
Explore this part of the workflow →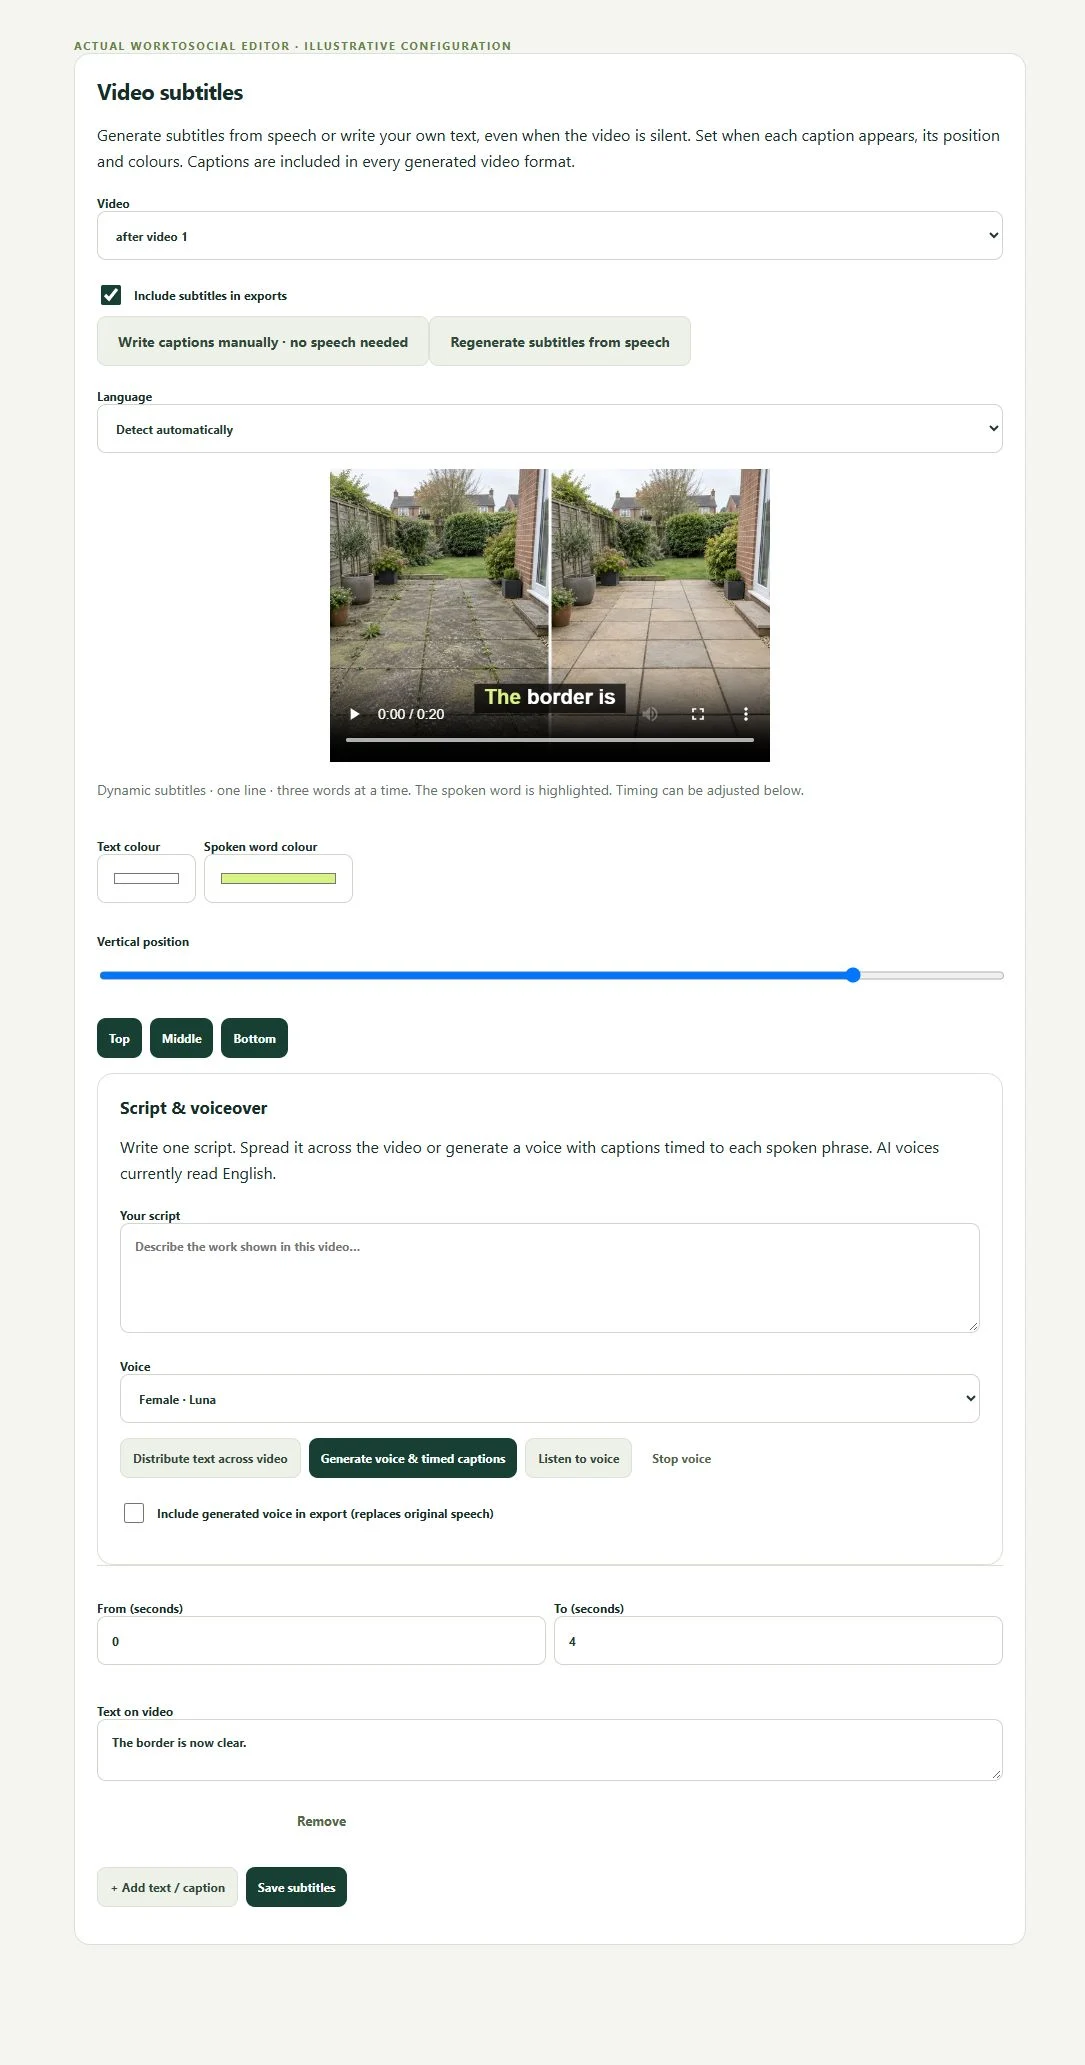
Manage the audio
Select a built-in instrumental or licensed upload, set music volume and decide whether to retain original speech. Listen to the entire mix.
Explore this part of the workflow →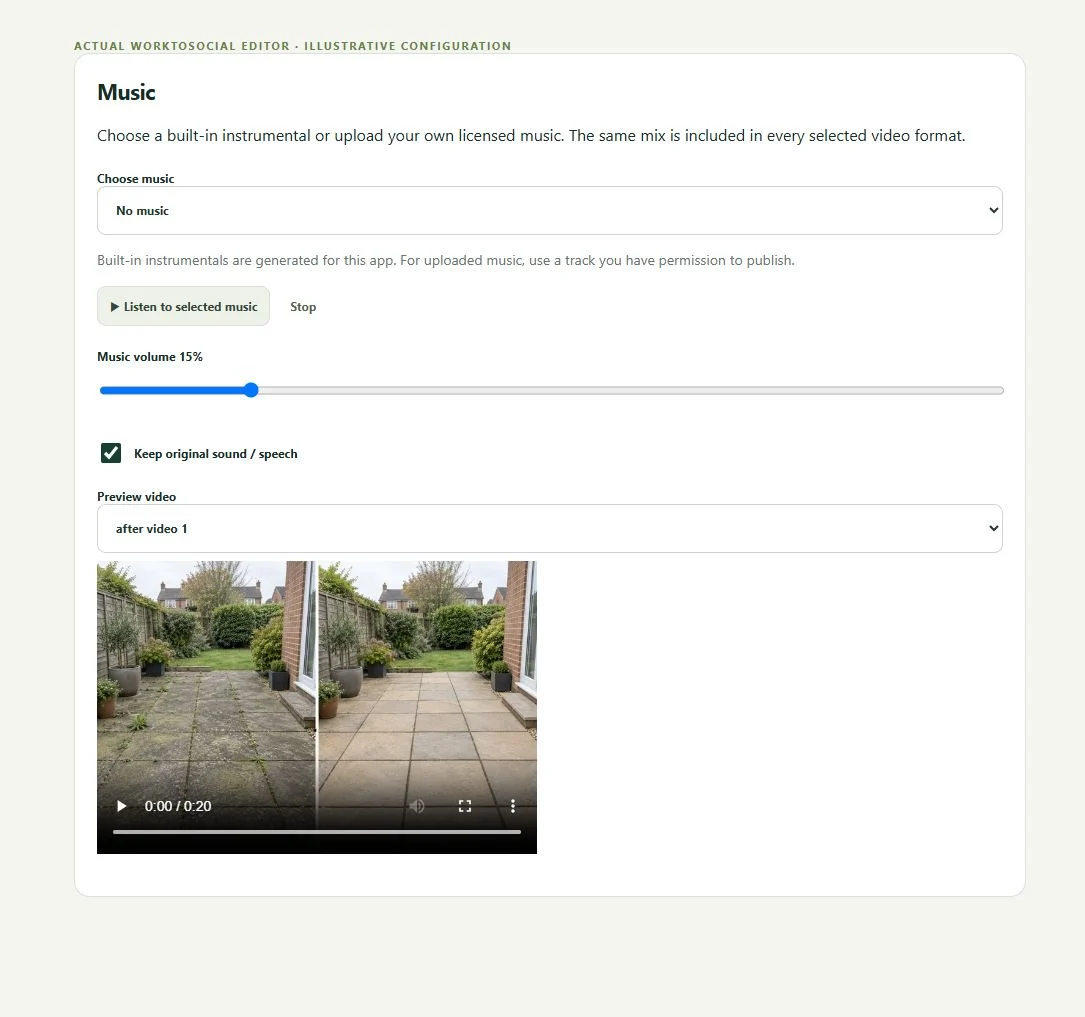
Apply company branding
Use the relevant company identity and accurate contact details. Check logo legibility and layout in each selected output format.
Explore this part of the workflow →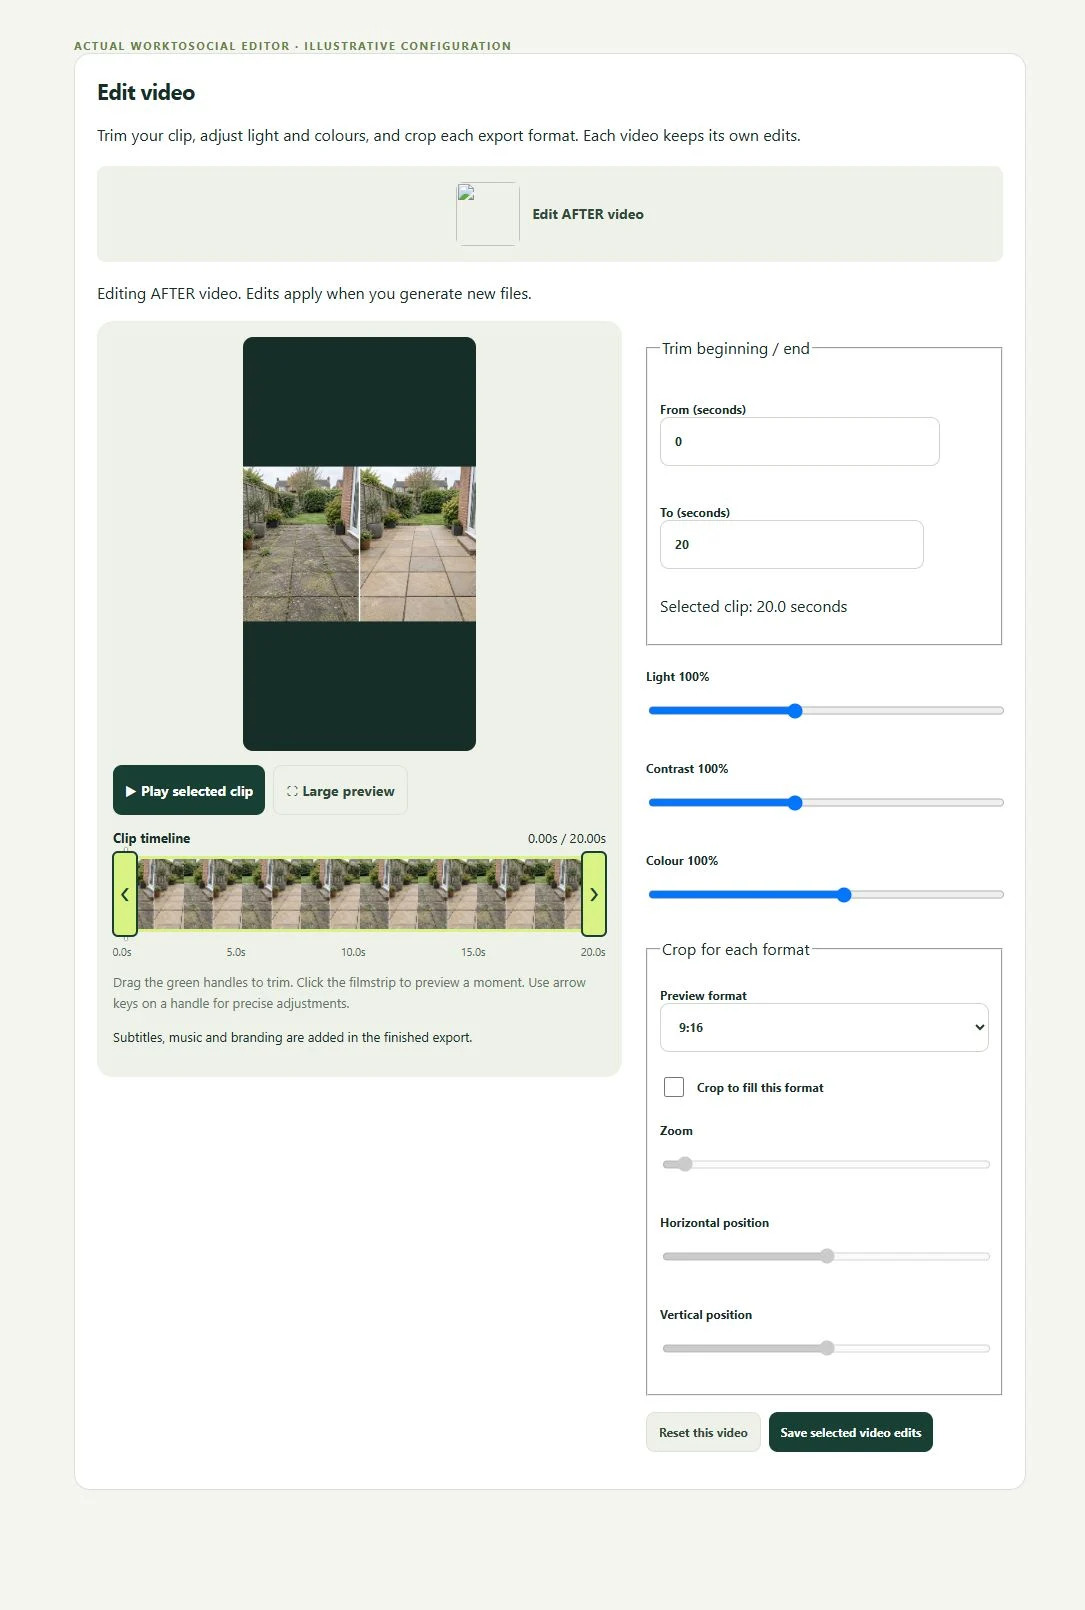
Choose intro, outro and CTA
Give the opener and closing card a clear purpose. Keep the job central and make the next step readable and accurate.
Explore this part of the workflow →Approve the finished result
Review the generated preview and post wording. Editing changes require a new preview; previous source approval is not a substitute for this final check.
Explore this part of the workflow →Export for your own channels
Select and download the finished files, publish through your own channel workflow and record the resulting URL. Automatic social posting is not active.
Explore this part of the workflow →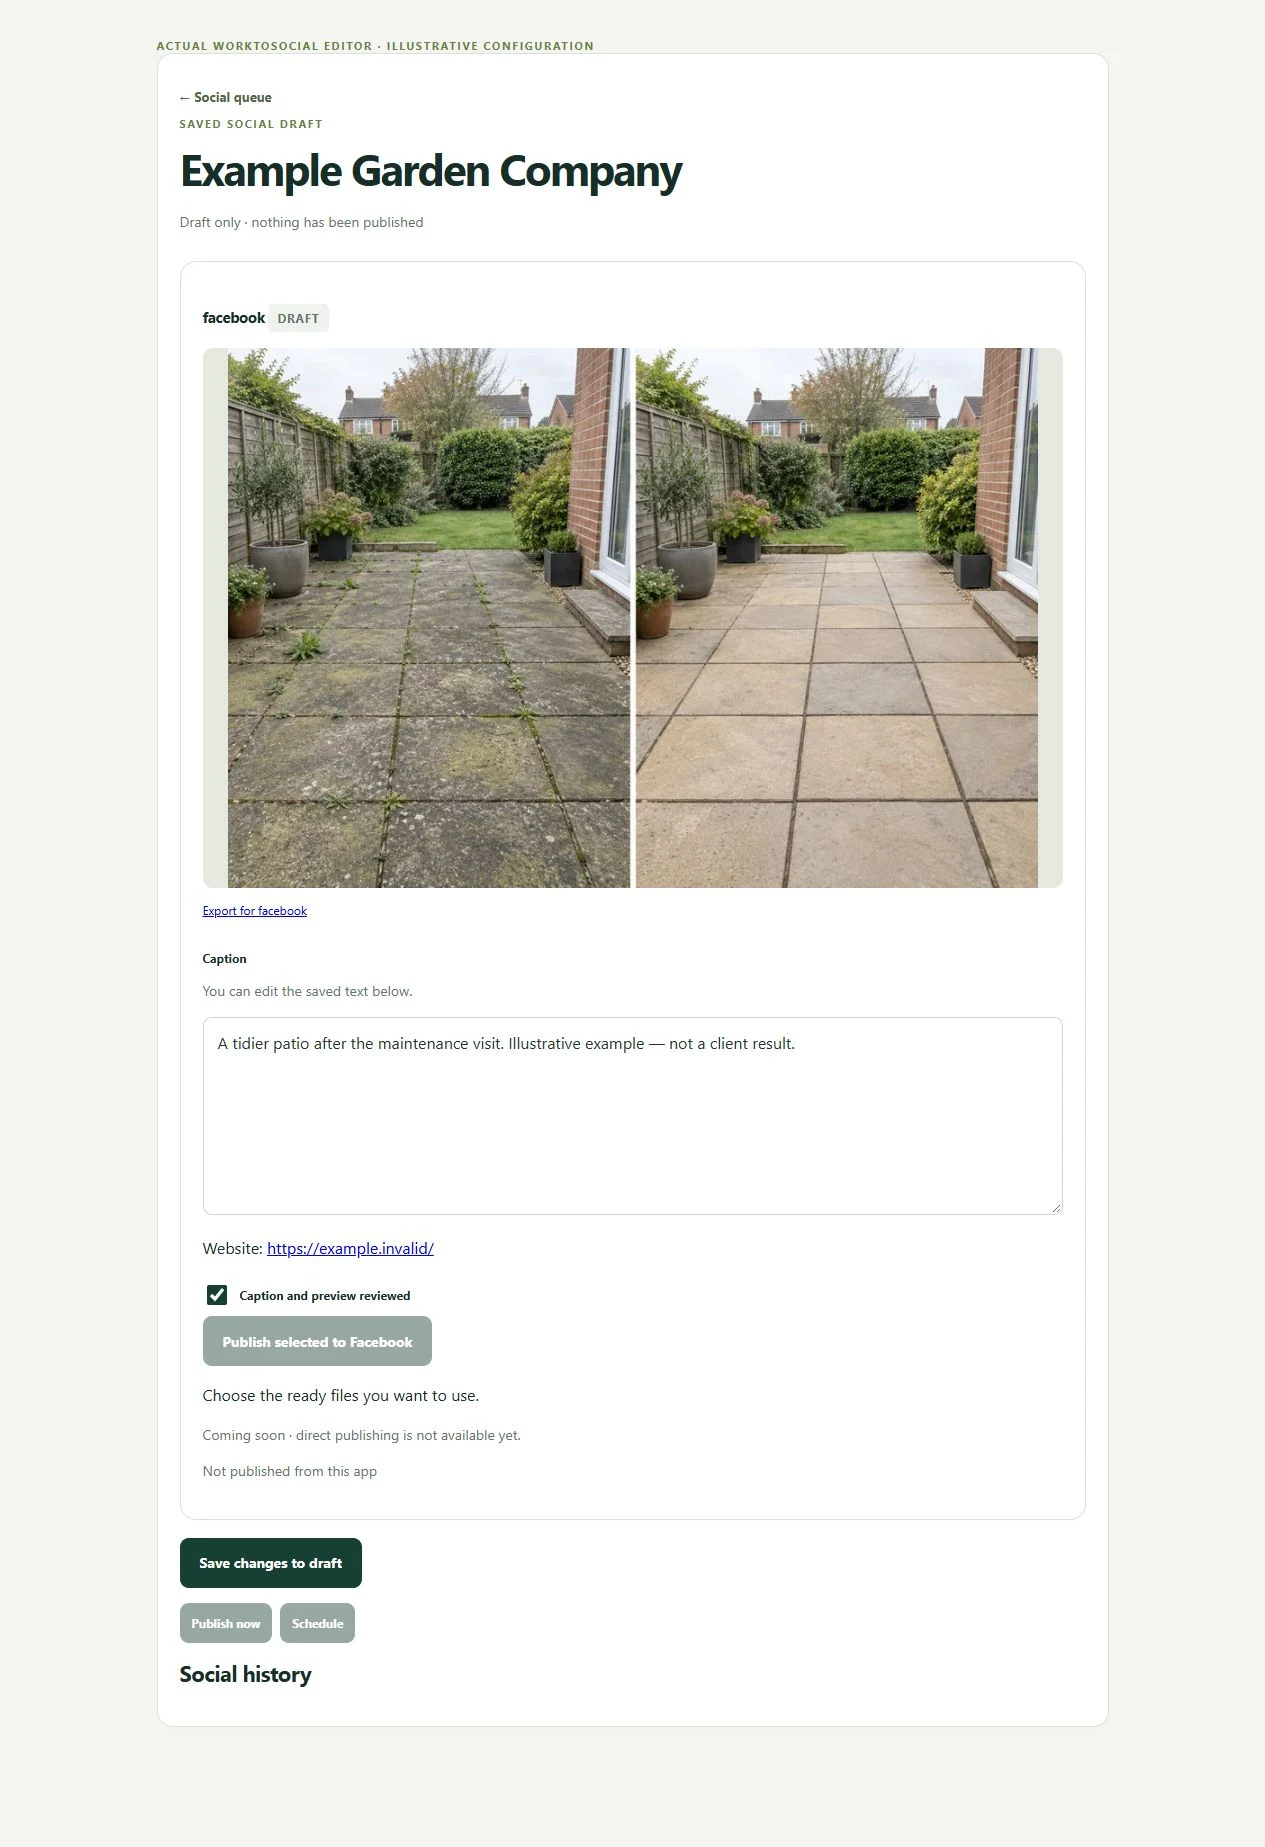
Ready to show what your business can do?
Turn real jobs into consistent, branded content your office can review and use.
Discuss your team’s workflow with us.